Converting Photo to Line Drawing
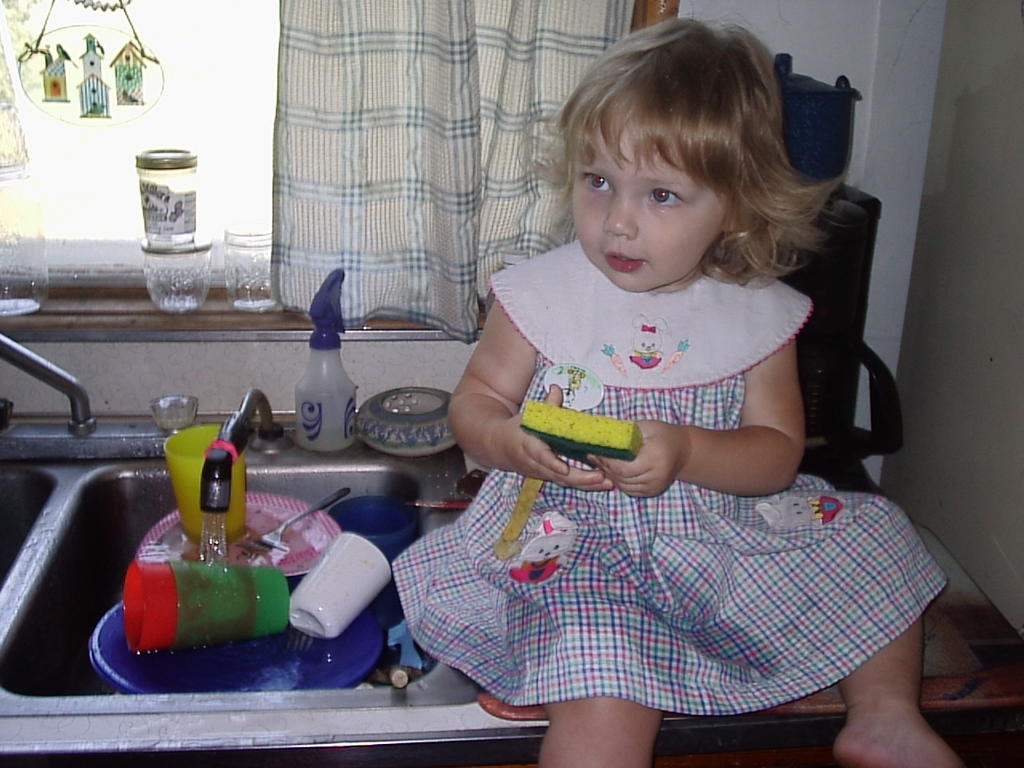
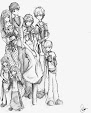
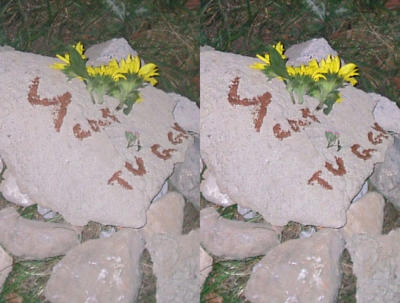
I had a little extra time this morning and was playing with ways to convert a photo to a line drawing. As you can see above, I have my original photo from my camera. Below are several conversions to line drawing using different methods.
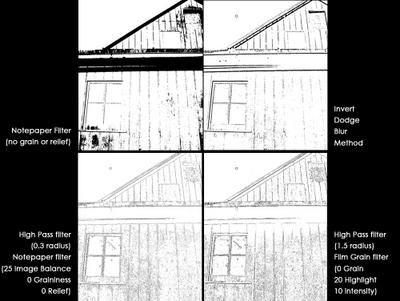
The top left method is using the Notepaper filter in Photoshop CS (Filters>Sketch>Notepaper) I set the Graininess and Relief both to 0 and adjusted the Image balance until I was happy) This resulted in a gray looking drawing so I did a Threshold adjustment to make it black (Image>Adjustments>Threshold).
The top right method is a technique I originally learned when I was using Paint Shop Pro. There are several steps involved:
1. Desaturate image (shift+control+U)
2. Duplicate image (control+J)
3. Invert the duplicate layer (Image>Adjustments>Invert)
4. Change layer blending mode of duplicate layer to Linear Dodge
5. Apply gaussian blur to duplicate layer. (Filter>Blur>Gaussian) Start at a radius of 0 and slowly move the slider to the right until you get the desired effect.
6. Merge layers
7. Make threshold adjustment (see above) to blacken image.
This method is more like a line drawing with shading. An advantage to this method is that there are fewer stray black dots to clean up.
The bottom left method uses a very low radius high pass filter (Filter>Other>High Pass). Here I used 0.3. Then the notepaper filter (Filters>Sketch>Notepaper) is applied with 0 Graininess and Relief and a setting of 25 for image Balance. I then did a threshold adjustment and cleaned up a few stray black dots.
The bottom right method is very similar, but uses a larger radius high pass filter (1.5) and the film grain filter (Filters>Artistic>Film Grain) Here the Grain was set to 0, the Highlight at 20 and the Intensity at 10) Again, I adjusted the threshold and cleaned up some stray black dots.
So, there you have it - a very brief summary of some methods to convert a photograph to a line drawing. Have fun and experiment with these to get your art just the way you like it.
Credits go to www.lunacore.com where there a bunch of great Photoshop tutorials. Specifically see the "Photo to Line Drawing" and "Drawing/Painting Effect" tutorials. Also, credits go to the old JASC Paint Shop Pro site where I originally learned the Invert-Dodge-Blur method above.
Beautify a Face
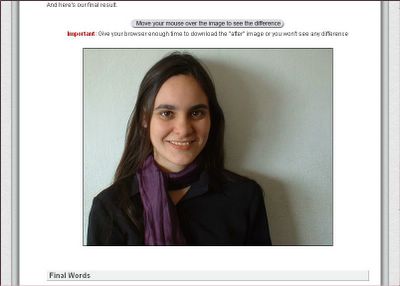
Here's a great tutorial that is quite complete. I personally have not had the time to try the whole thing, but I can't wait! The image above is a link that takes you to the final before and after. Mouse over the image at that site to see the after. I was clued into this tutorial through
Angie Pederson's blog which refered me to
Andy Wibbles' blog with a link to it. Is that round about, or what? Anyway, I am very appreciative of the great lessons found here and am documenting the sitehere for myself and anyone else interested.
Clear Skin
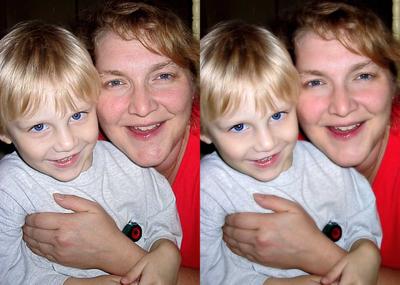
This tip was found at 2 Minute Photoshop Tips.
Step one is to use the healing brush to remove blemishes. Then the layer is duplicated and a gaussian blur is applied to the image -just enough to smooth the skin. Then lower the opacity of this layer to about 50%. It even made this mama look a bit less tired and worn out at the end of a very long day! Any tip that can do that has got to be good!
Black and White Conversion

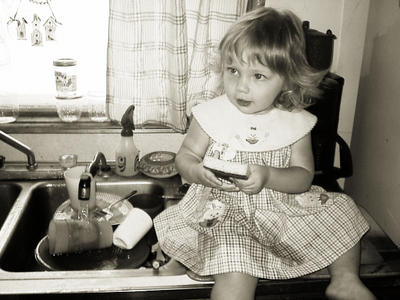
There are MANY ways to convert an image to black and white. Here is a unique version I discovered today.
Converting colour to black & white using the Lab mode techniqueIf the whole process just seems like too much work, he even has it worked up into an action to download.
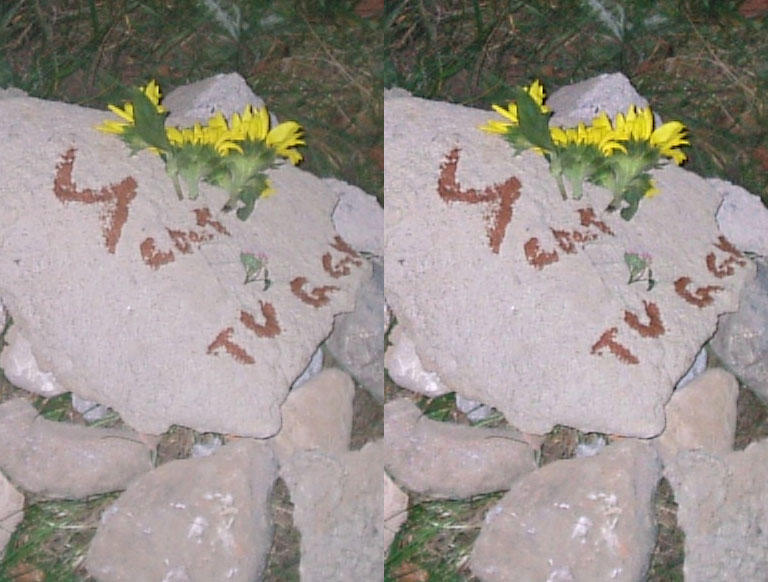
Here is my try at it. The top photo is the original JPG out of my camera and the bottom is my try at this technique. The cool thing about this is you create a duotone type effect. If you are using the action, it uses the foreground color for your second tone. If you forget to pick it first, it can easily be chaged later as the action creates a solid color tonal layer and you can changethe fill color to whatever you what. This color is #EBDDB2 which gives a nice sepia tone.
DeFogging Photos
Here's a little tip shared by Angi on her
blog. Run an Unsharp Mask (Filters>Sharpen>Unsharp Mask) with the settings Amount=20, Radius=60 and Threshold=0. This doesn't really sharpen the photo but reduces the digital fog. Awesome tip! Try it - it works great!
Reducing Noise in PhotoShop
Learned this trick from
2 Minute Photoshop TricksOften with my little point and shoot digital camera I end up with an image with lots of digital noise when I am shooting in poorly lit situations. Digital noise is those unattractive red and green dotties all over the image as seen in the before image on the left here. I was so excited to discover this wonderful PS tip.
To eliminate the noise, first open your image in Photoshop. Change the Mode from RGB to Lab Color Mode (Image>Mode>Lab Color)
Lab Color mode breaks the image into 3 channels: "lightness", "a", and "b." While much of the detail is stored in the lightness channel, the color info is stored in the a and b channels. To see these channels look at the Channels palette which is usually docked with the Layer palette. You can also click Window>Channels. Click on the individual channels to view them. Go to the a channel. To reduce the noise click Filter>Noise>Median. Adjust the radius until you have just eliminated the dotties, but you haven't turned your image into a big blob. Do the same for the b channel. You can also do this using Blur>Gaussian, if you prefer, on these two channels. Next go to the lightness channel. Click Filter>Sharpen>Unsharp Mask. Sharpen the lightness channel just a little bit. Start with conservative settings and experiment. Next, it is important to remember to change your mode back to RGB. Click Image>Mode>RGB. You should have an image with reduced noise. See my after image on the right.