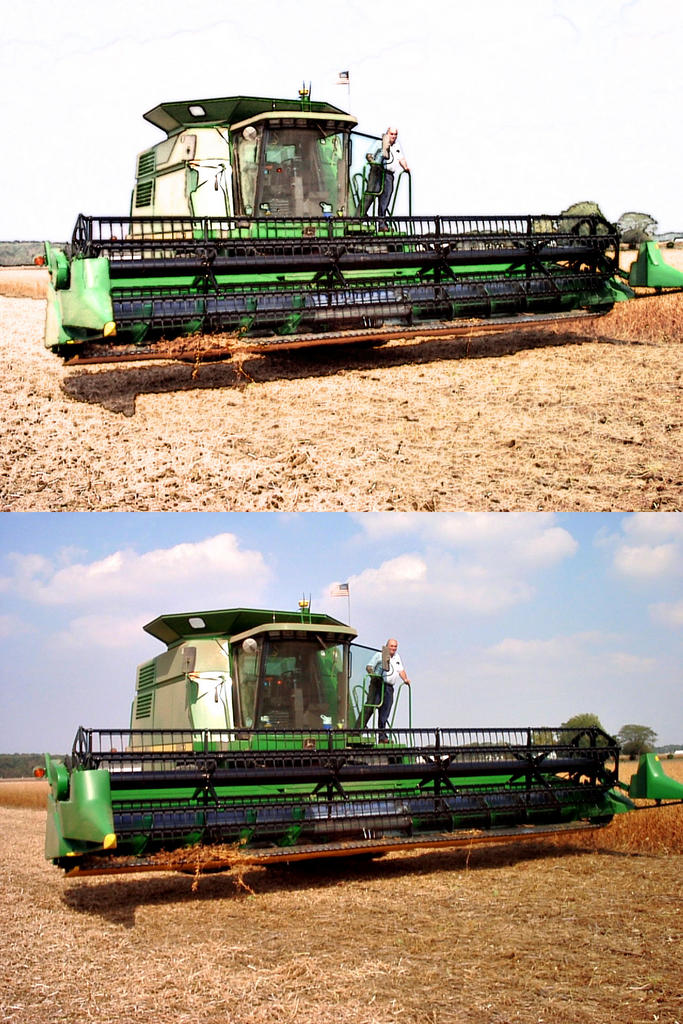
Vivid Dream
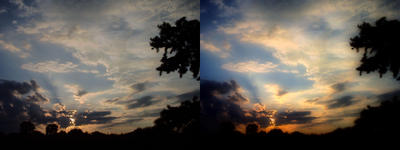
I personally love this look for photos. I have experimented with several similar ways to achieve something of this nature. This weeks
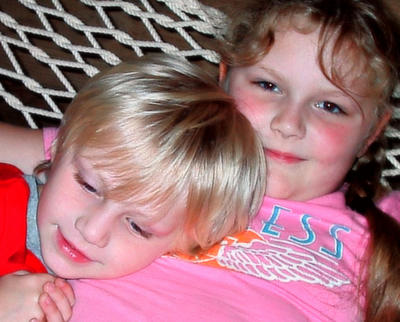
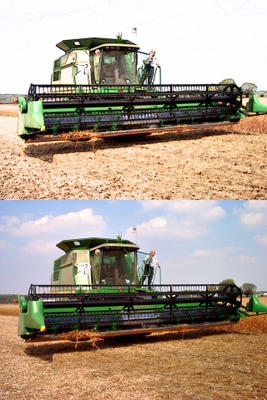
2 Minute Photoshop Tricks podcast shared a great method for this. The photos above show the results. The left is straight out of my camera and the left is following the podcast 100%.
To summarize the steps:
1. Open image
2. Duplicate image on new layer.
3. Change copy's layer blend mode to "Multiply"
4. Create a Levels adjustment layer and move white and maybe grey arrows to the left to desired light levels.
5. Add a Gaussian blur of about 25 to the copy layer.
6. Add a Hue/Saturation adjustment layer and increase the Saturation to about 25.
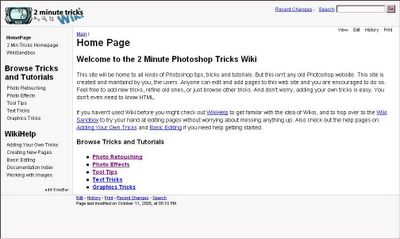
Click the image link above to go to a new PhotoShop wiki. If you don't know what a wiki is, it is a site that anyone can contribute information to. The more people add their knowledge to it, the better it is. According to the
wikipedia, a wiki is is a
web application that allows users to add content, as on an
Internet forum, but also allows others (often completely unrestricted) to edit the content. The term wiki also refers to the
collaborative software (wiki engine) used to create such a website (see
wiki software). In essence, the wiki is a vast simplification of the process of creating
HTML pages, and thus is a very effective way to exchange information through collaborative effort. wiki is often interpreted as the abbreviation for 'what I know, is', which describes the knowledge contribution, storage and exchange up to some point.
I haven't had time to fully explore this site, but it looks really informative if you are interested in improving your photographic skills.
Photo Enhancement
I was told by a friend, that it really doesn't matter what type of camera you use for your photography as long as you are really proficient in Photoshop. I certainly hope that she is right, because although I am saving up for a better camera, I am currently shooting with an older 1.3 megapixel point and shoot model. For what it is, it does a great job, but the more I study great photography, the more I smacked in the face by its limitations. Perhaps this is a good thing, because it has forced me to hone my photo enhancement techniques

. I believe it has made me be more thoughtful in how I frame and crop my photos IN my camera because I do not have enough pixels to do too much of that in post processing. I still have a lot to learn, but God is good and He has let me learn tons through this process. I thought that I would document some of the post processing that I am currently doing to most of my photos. Perhaps someone else will be benefited by this.
So, to start, here is a photo taken of two of my children at the zoo. This is straight out of my camera with no post processing. I had to use the flash to get a focused picture due to the dark environment. All settings were set on "automatic" on my SANYO VPC-R1.
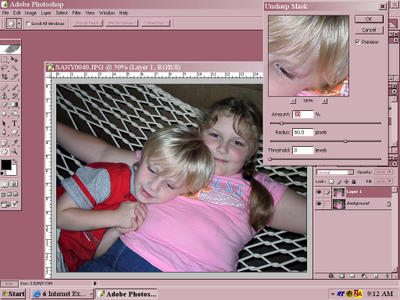
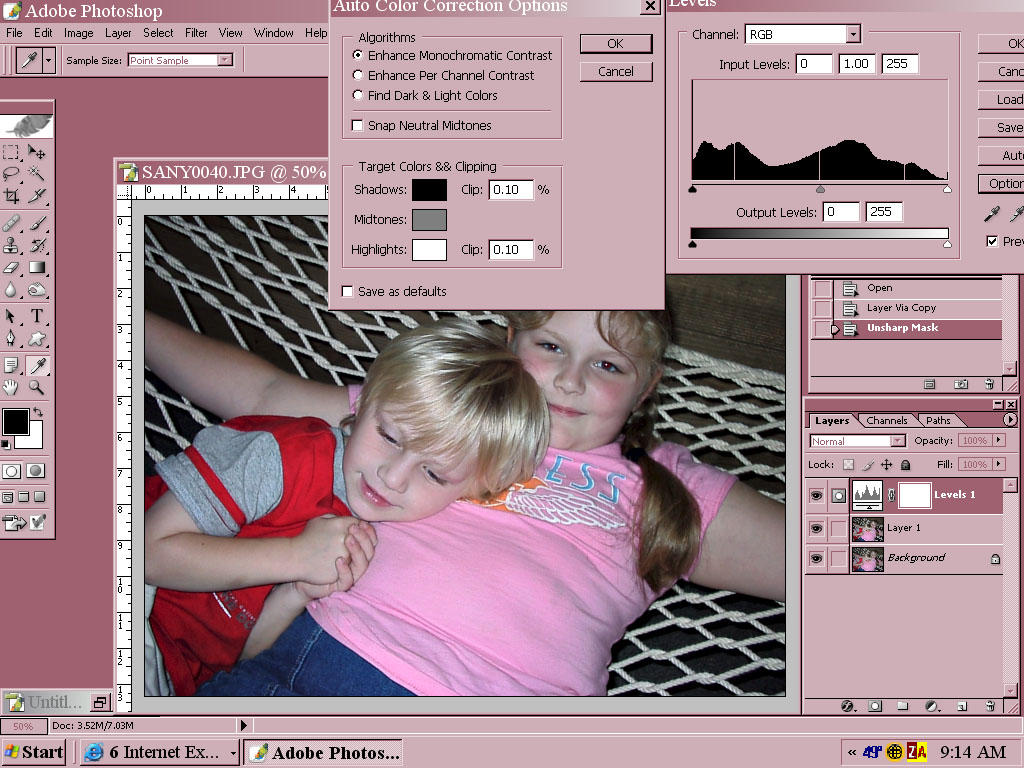
The first thing I usually do is "de-fog" the image using the technique I spoke of
here. This is done with the unsharp mask with the settings shown.
The next step is to creat a Level adjustment layer
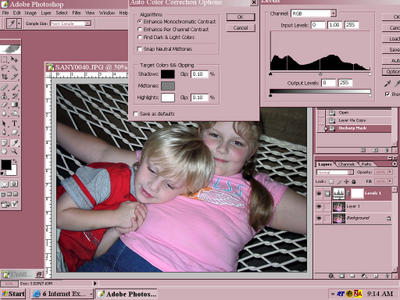
. When the Levels window opens, click "Options" and another window opens. I try the different algorithm setting to see which I like best. Click "OK" and then adjust the sliders in the Levels window. I usually slide the right (white) slider to the left until the lightng on the faces is brightened up, but not too much of the photo is blown out. Then I bring the left (black) slider to the right to add some contrast.
An adjust layer automatically creates a layer mask. I take a soft, low opacity brush set to black and go over any areas (painting on my mask) that now look over exposed.
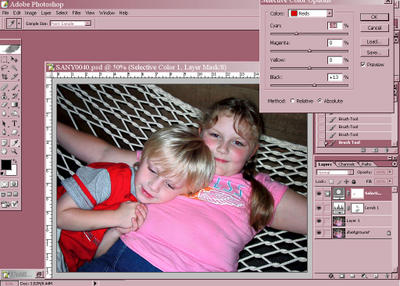
Levels do a great job of bringing a dull photo to life, but even more life can be added. Next I create a Selective Color adjustment layer. This opens up a window that can be used to tweak each color in the photo. I play with each of the sliders for each of the colors with the exception of white, gray, and black except on rare occasions. By removing some of the cyan from the red and yellow, skin tones will really be warmed up.
Now, I see that my daughter has a bit of red eye that should be fixed. I go back down to my second layer (the top image layer that was de-fogged). Hit CNTL-J to duplicate it on a new layer and name this one "red eye." On this I used the Color Replacement tool to fix this. If this had more of a close up of the eye, you could also select just the eyes and whiten them through Levels and sharpen them using the Unsharp Mask. Catch lights could even be added. Since this photo isn't too close up to the eyes, I just remove the red eye on this one.

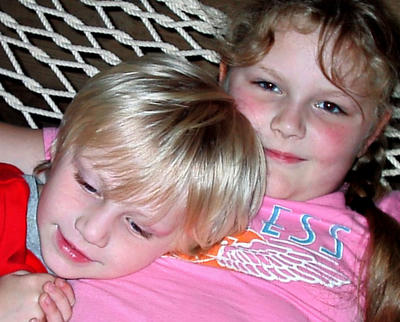
Here is the basic finished image. I chose to crop it to focus on their faces. I used the rule of thirds to place my daughter's eyes close to one of the third points and still eliminate background distractions.
Now, there is even more fun to be had. We need to merge all of our layers into one. The way I do this to still preserve the individual layers as well, is to create a new layer and then
while holding the ALT ( Mac - OPTION) key, click on the little triangle in the upper right of the Layer window and then click "merge layers." All of the visible layers will be merged and stamped onto this new layer. This layer can be played with and all of your working layers are still intact!
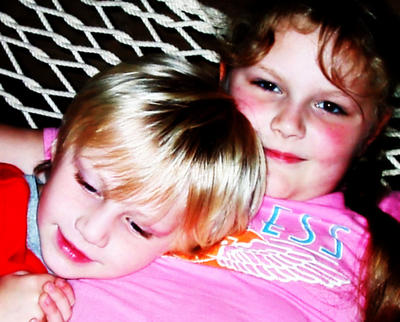
Using this stamped layer, I followed this tutorial on
Photo Manipulation to acheive the results shown here.
Another fun thing to do is apply filters to this merged layer. Photoshop has many artistic filters that are fun to experiment with. By using several of them, some really neat effects can be achieved.
There are several really neat plug-in filters that can be found on the web. A couple of my favorites are
Virtual Photographer and Softener by
Name Suppressed.
This photo has the Virtual Photographer "Romance" preset applied to it.
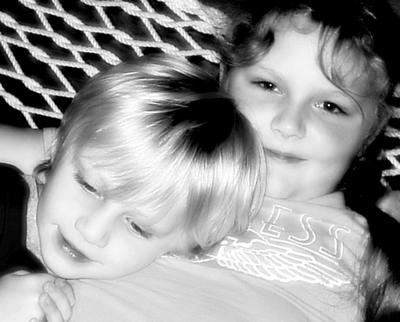
This one is also the Virtual Photography filter, but this one is the Black and White "Diffuse" preset.
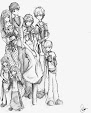
Photo to Sketch
I am always fascinated with the concept of taking my photo and turning it into something that looks like traditional art. Here's a great little
tutorial I found:
Copy your photo into a new document and name ir 'Original'. Duplicate the layer 'Original' and rename it 'Desaturated'. Desaturate the layer 'Desaturated' so that it has no color by hitting Shift+Ctrl+U (Mac: Shift+Command+U). Duplicate the 'Desaturated' layer and name the new layer '1'. Now go Filters>Blur>Smart Blur and use these settings:Radius: 60Threshold: 100Best Quality and use Edge Only.Click OK and invert the layer, now apply a Filter>Blur>Gaussian Blur with a radius of 1, and set its Blending Mode to Hard Light (which can by done in the upper left corner of the Layers Palette).
Duplicate the 'Desaturated' layer, rename it to '2', and move it over layer '1'. Now go Stylize>Emboss and use these settings:Height: 1Amount: 119%Click OK and set the Blending Mode to Hard Light. Duplicate the 'Desaturated' layer, rename it to '3', and move it above layer '2'. Apply the Filters>Blur>Smart Blur filter once again but this time use:Radius: 10Threshold: 100Best Quality and Edges Only.Click OK. Invert the layer and set the Blending Mode to Multiply and Opacity to 40%.
Once again, duplicate the 'Desaturated' layer, rename it to '4' and move it above layer '3'. Apply the Filter>Styling>Glowing Edges filter with these settings:Edge Width: 1Edge Brightness: 7Smoothness: 6Click OK and invert the layer. Set the Blending Mode to Multiply and the Opacity to 40%. Duplicate the layer '4' and Filter>Blur>Gaussian Blur it, use a radius of about 3 - 4 this will give us that shaded look. Set the Blending Mode to Multiply and Opacity to 100%.
Adding Color:Duplicate the 'Original' layer and name it 'Color' and move it to the top of all the layers. Set its Blending Mode to Hard Light, duplicate the layer 'Color', and set its Blending Mode to Color.You can see above are my finished results following this tutorial exactly as written.


