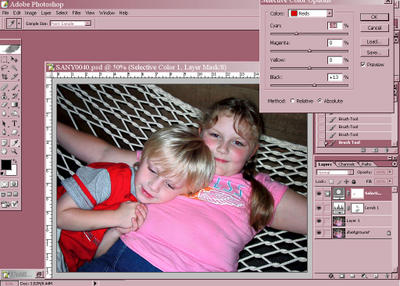
 Levels do a great job of bringing a dull photo to life, but even more life can be added. Next I create a Selective Color adjustment layer. This opens up a window that can be used to tweak each color in the photo. I play with each of the sliders for each of the colors with the exception of white, gray, and black except on rare occasions. By removing some of the cyan from the red and yellow, skin tones will really be warmed up.
Now, I see that my daughter has a bit of red eye that should be fixed. I go back down to my second layer (the top image layer that was de-fogged). Hit CNTL-J to duplicate it on a new layer and name this one "red eye." On this I used the Color Replacement tool to fix this. If this had more of a close up of the eye, you could also select just the eyes and whiten them through Levels and sharpen them using the Unsharp Mask. Catch lights could even be added. Since this photo isn't too close up to the eyes, I just remove the red eye on this one.


0 Comments:
Post a Comment
<< Home