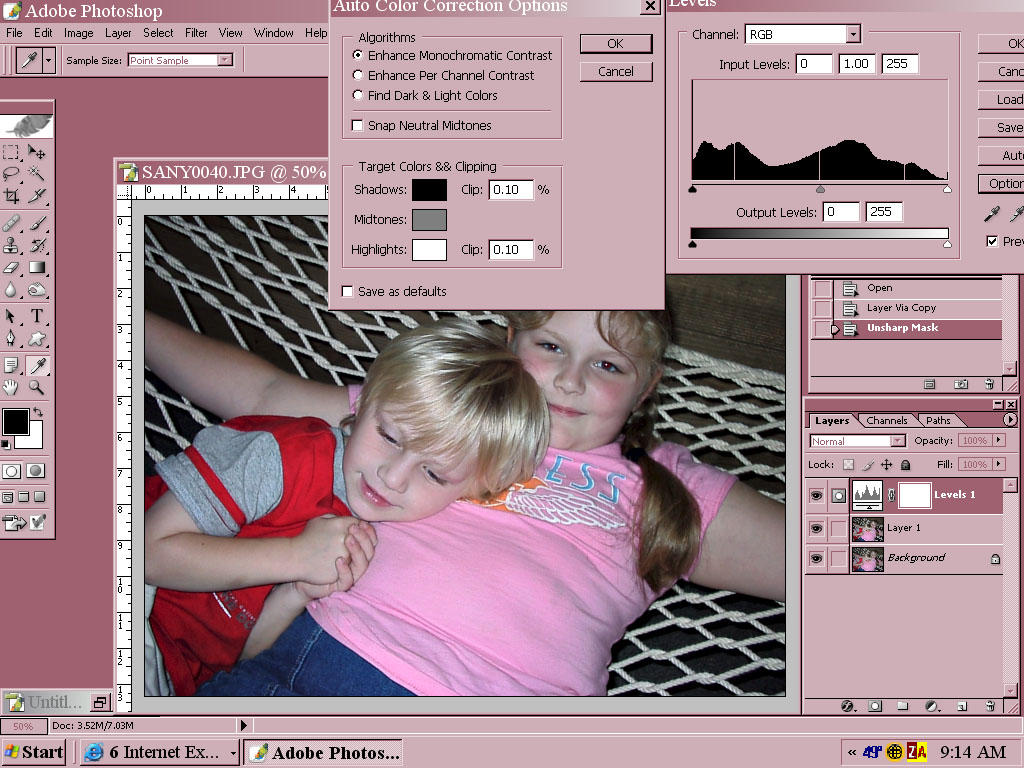
 . When the Levels window opens, click "Options" and another window opens. I try the different algorithm setting to see which I like best. Click "OK" and then adjust the sliders in the Levels window. I usually slide the right (white) slider to the left until the lightng on the faces is brightened up, but not too much of the photo is blown out. Then I bring the left (black) slider to the right to add some contrast.
An adjust layer automatically creates a layer mask. I take a soft, low opacity brush set to black and go over any areas (painting on my mask) that now look over exposed.
posted by Trish @ 7:21 AM
![]()
![]()

0 Comments:
Post a Comment
<< Home