Reducing Noise in PhotoShop
 Learned this trick from 2 Minute Photoshop Tricks
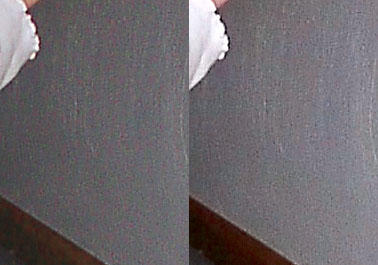
Often with my little point and shoot digital camera I end up with an image with lots of digital noise when I am shooting in poorly lit situations. Digital noise is those unattractive red and green dotties all over the image as seen in the before image on the left here. I was so excited to discover this wonderful PS tip.
To eliminate the noise, first open your image in Photoshop. Change the Mode from RGB to Lab Color Mode (Image>Mode>Lab Color)
Lab Color mode breaks the image into 3 channels: "lightness", "a", and "b." While much of the detail is stored in the lightness channel, the color info is stored in the a and b channels. To see these channels look at the Channels palette which is usually docked with the Layer palette. You can also click Window>Channels. Click on the individual channels to view them. Go to the a channel. To reduce the noise click Filter>Noise>Median. Adjust the radius until you have just eliminated the dotties, but you haven't turned your image into a big blob. Do the same for the b channel. You can also do this using Blur>Gaussian, if you prefer, on these two channels. Next go to the lightness channel. Click Filter>Sharpen>Unsharp Mask. Sharpen the lightness channel just a little bit. Start with conservative settings and experiment. Next, it is important to remember to change your mode back to RGB. Click Image>Mode>RGB. You should have an image with reduced noise. See my after image on the right.


0 Comments:
Post a Comment
<< Home